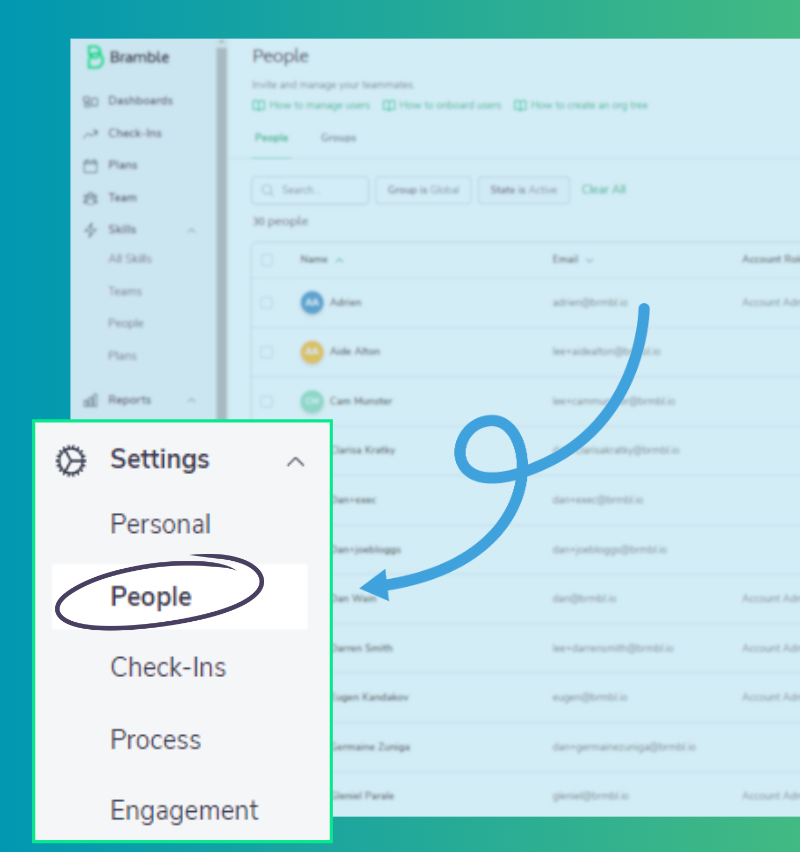
All users with Team Owner. Account Owner, or Account Admin access, are able to create and manage users in Bramble via the menu option Settings>People.
To create a new user, complete the following steps:
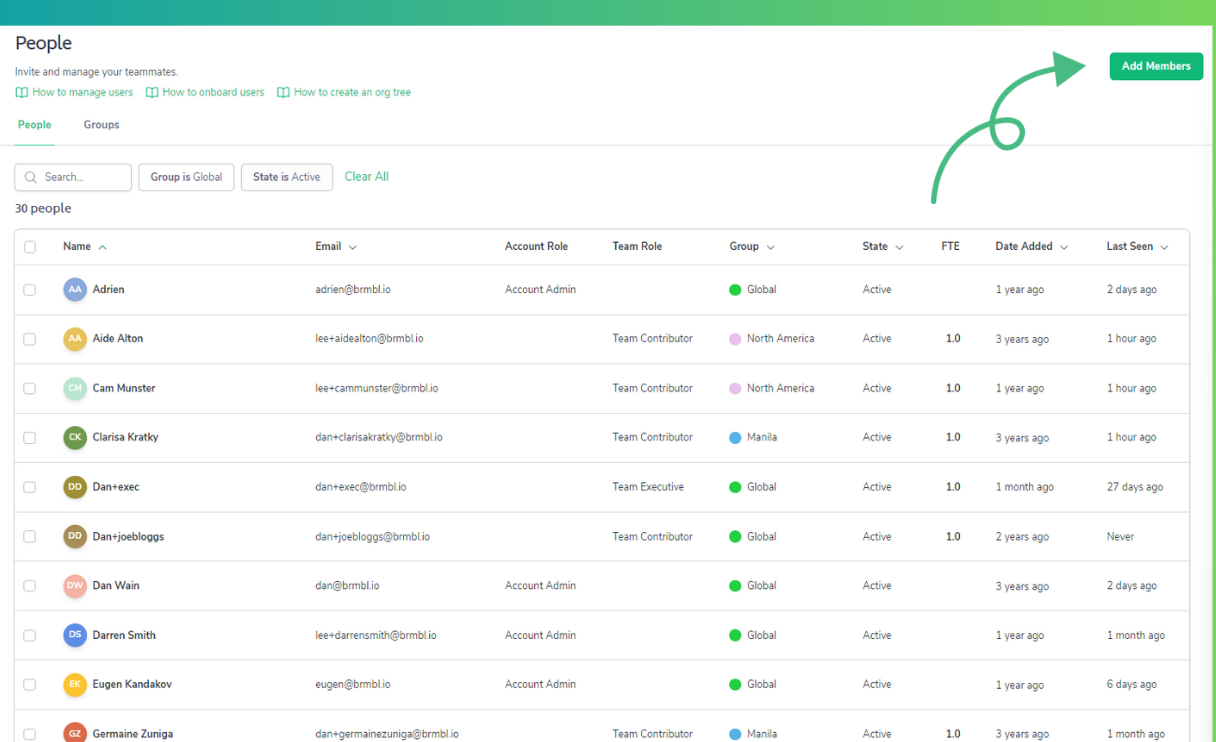
Click on the 'Add Members' button to create new users.
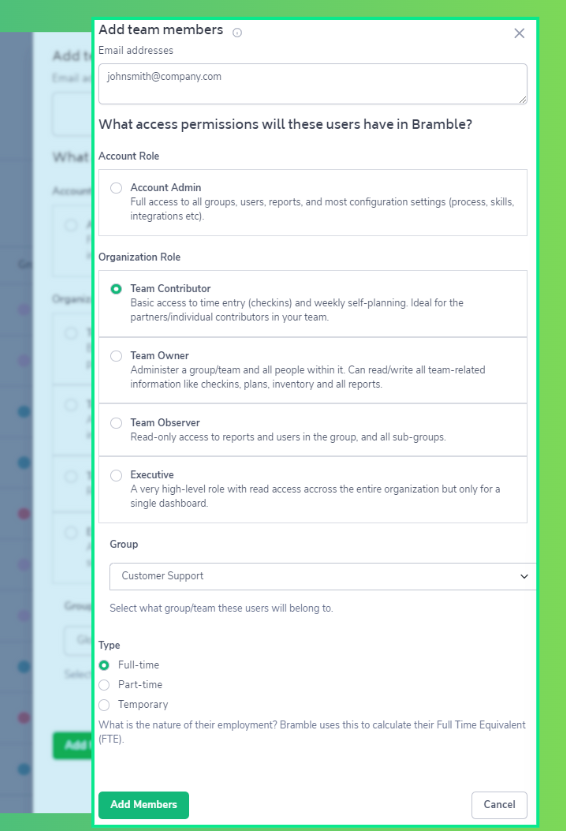
Enter the email address(es) of the user(s) you wish to create.
Assign the user to a Group (Team/Department) and set their Access level within Bramble.
Set the user's position within the company, and their employment type (Full-time, Part-time, Temporary).
Click on the "Add Members" button to create the user.
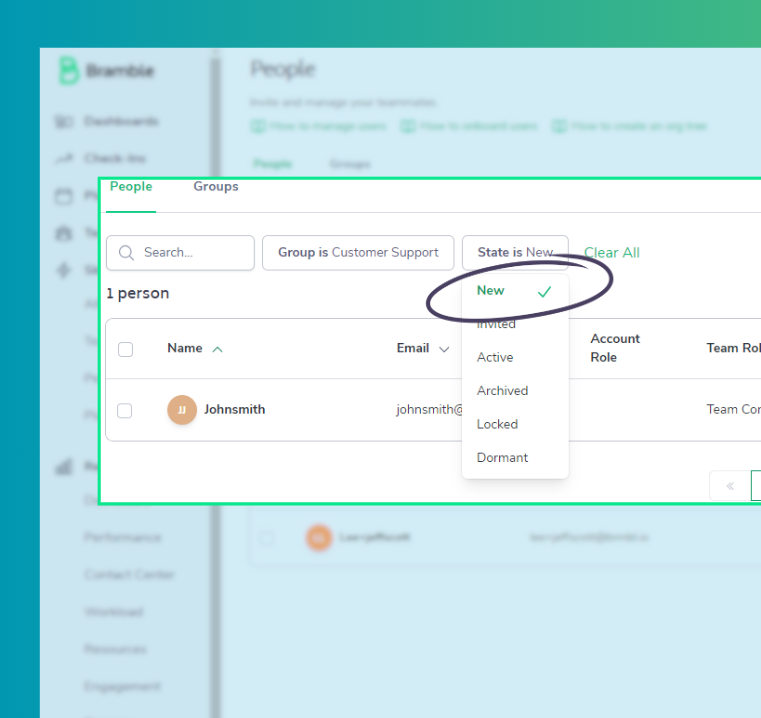
Once the user has been created they are immediately moved into the 'New' status, meaning data can be populated against them, but they aren't able to access the system until they are officially 'Invited'.
To invite a user complete the following:
Navigate to Settings>People (if you aren't already there)
Locate the user you wish to 'Invite'
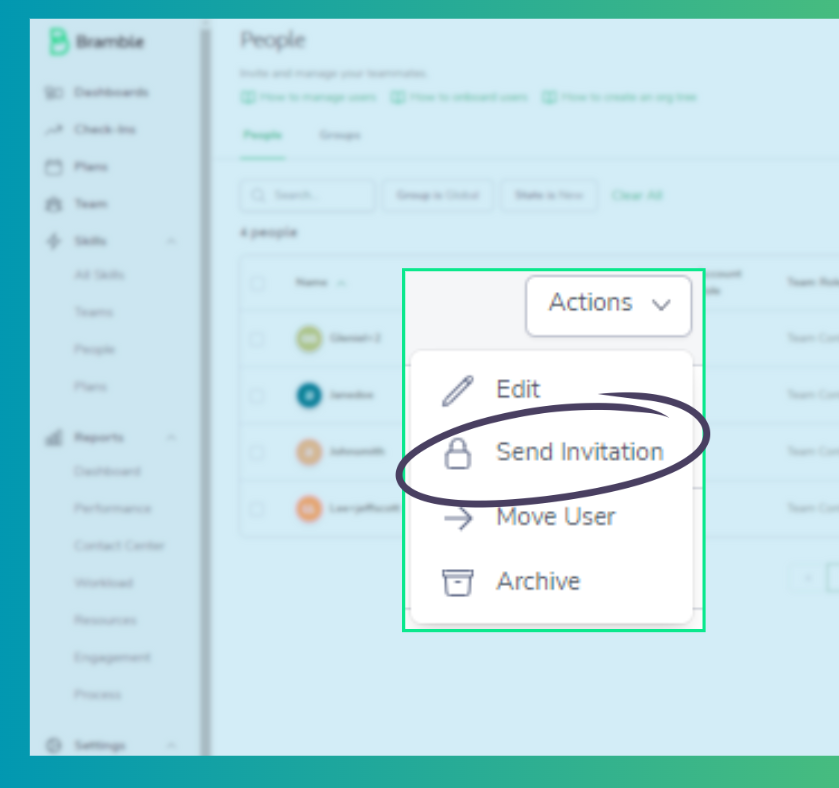
Hover to the right of their name until you see the 'Action' button appear
Select 'Send Invitation'
An email will be sent to the email address on record for the user to complete the remainder of the onboarding details.
Other items housed under the 'Actions' button are:
Edit - Make any necessary changes to update the user's profile.
Move User - Move the user to another team in the company that is using Bramble.
Archive - Archive the user's record if they are no longer with the company, or have moved to a team in the company that is not using Bramble.
It's important to ensure that users in Bramble are managed promptly so all necessary data is accurately represented in the various reports within the platform.